As you may know, Google Analytics 4 (GA4) does not provide built-in page load time metrics.
However, for website owners, the speed at which web pages load is crucial for optimizing performance and improving the user experience.
In this article, we will explore how to track page load time in GA4 using Google Tag Manager.To begin, make sure that you have a Google Tag installed in your Google Tag Manager container.
The Google Tag (previously GA4 configuration tag) is essential for sending page load time data to GA4.
If you don't have one, you can refer to a Beginner's Tutorial: How to Set Up Google Analytics 4 Using Google Tag Manager to set it up.
Guide To Tracking Page Load Time in GA4 Using GTM
Here are the steps to track page load time in GA4 using Google Tag Manager (GTM) :
Navigate to https://tagmanager.google.com/
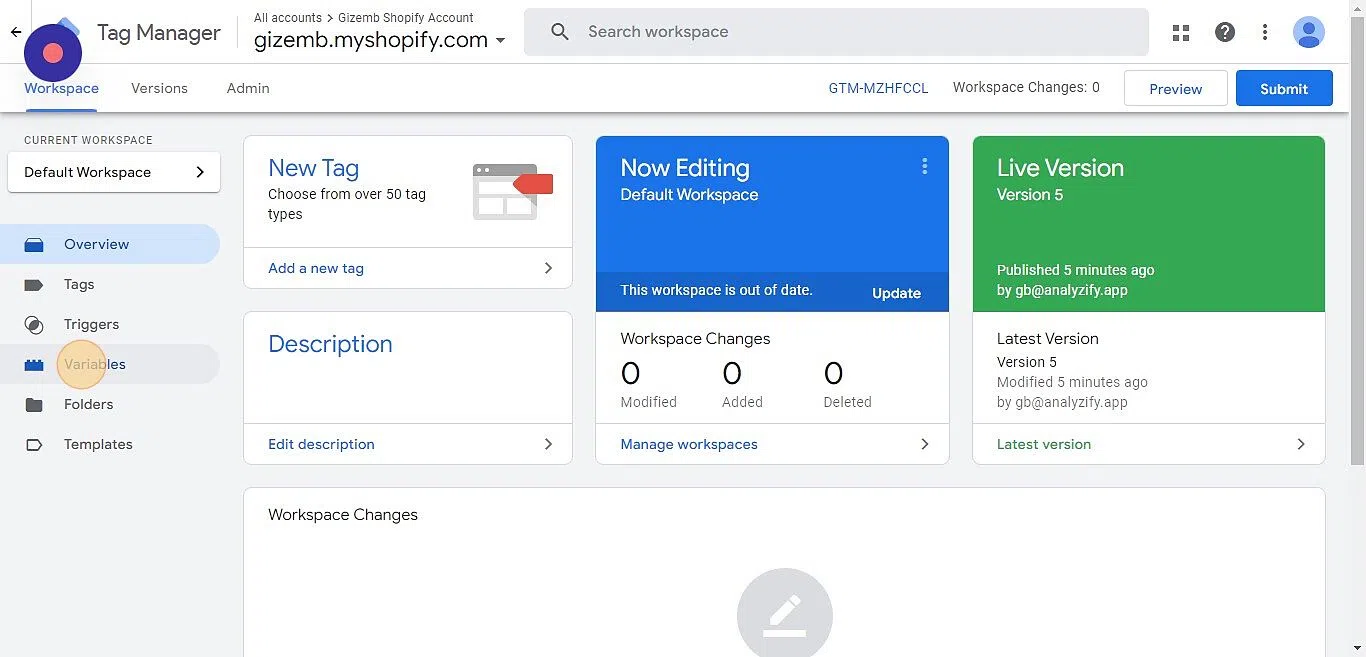
Click "Variables." Create a new user-defined variable by clicking on the "New" button.
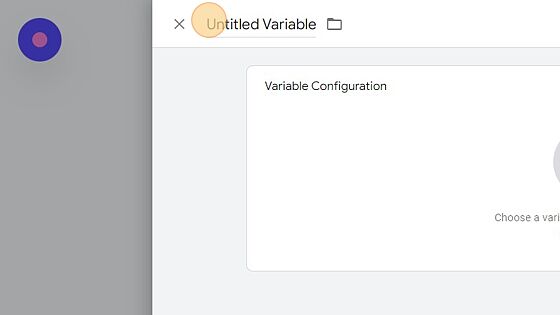
Name the variable "Page Load Time" and click on "Variable Configuration."
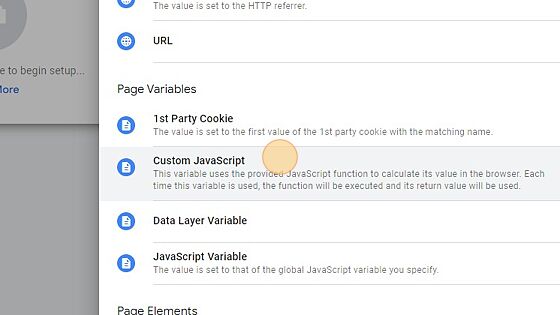
Select "Custom JavaScript" as the variable type.
Copy and paste the code below:
function() { if (window.performance && window.performance.getEntriesByType) { var entries = window.performance.getEntriesByType("navigation"); if (entries.length > 0) { var navTiming = entries[0]; var pageLoadTime = navTiming.loadEventEnd - navTiming.startTime; return Math.round(pageLoadTime / 100) / 10; } } } Then, click "Format Value."
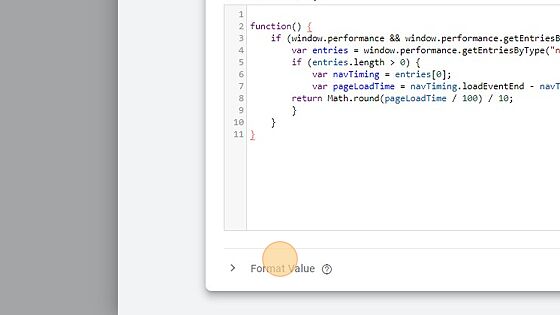
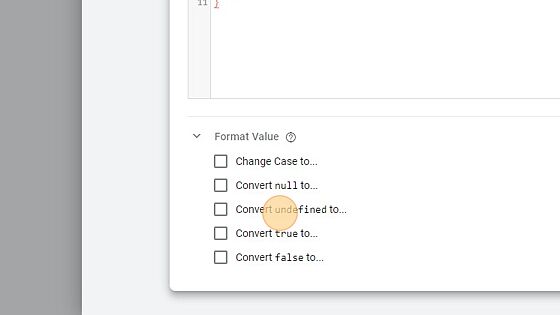
Enable the option "Convert undefined to..." Set the value as "0."
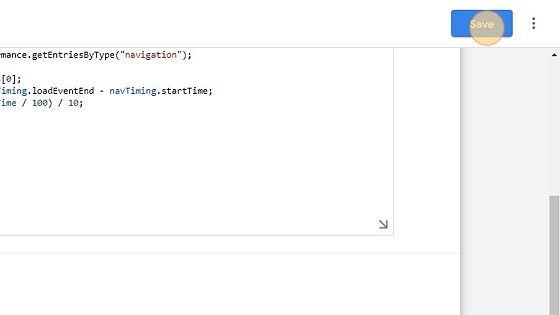
Click "Save."
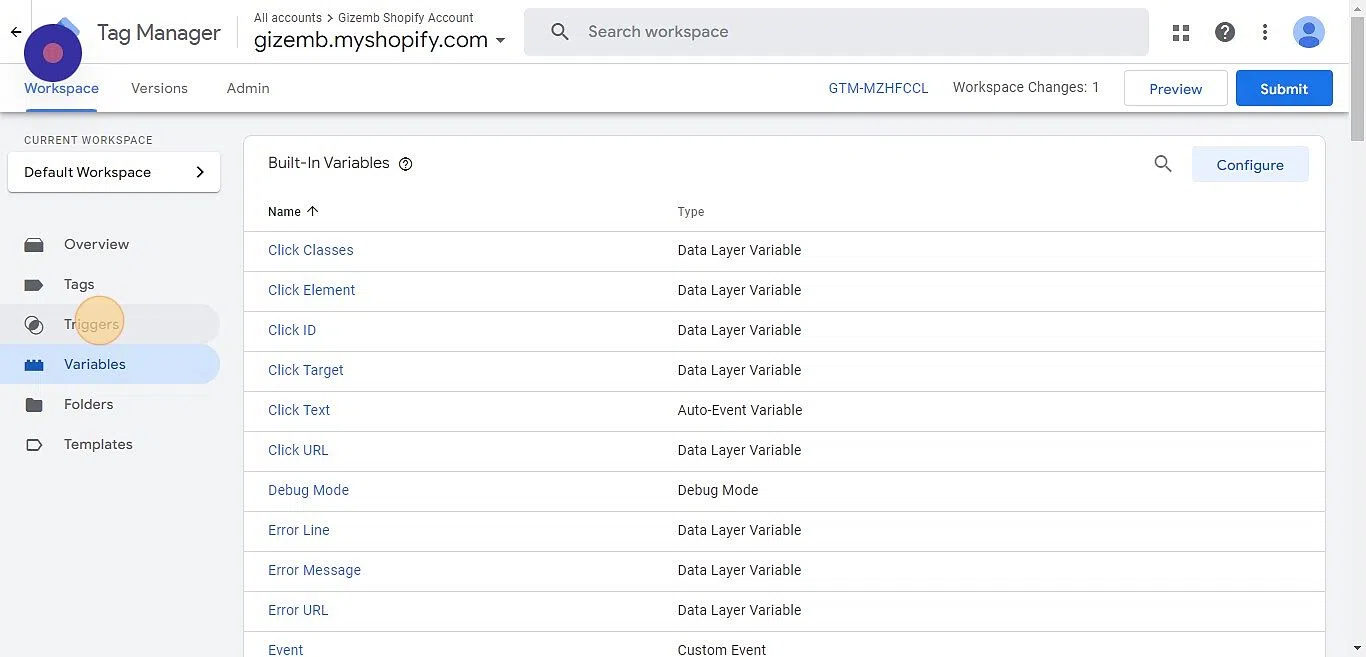
Go to the "Triggers" section in your GTM container. Create a new trigger by clicking on the "New" button.
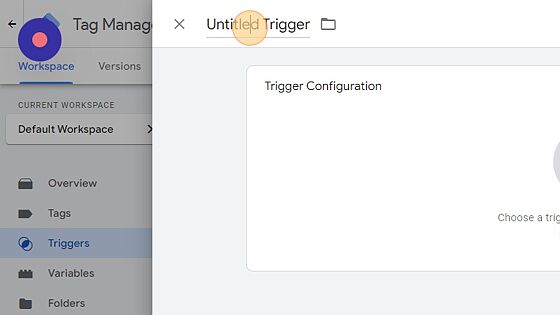
Name the trigger "Page Load Time > 0."
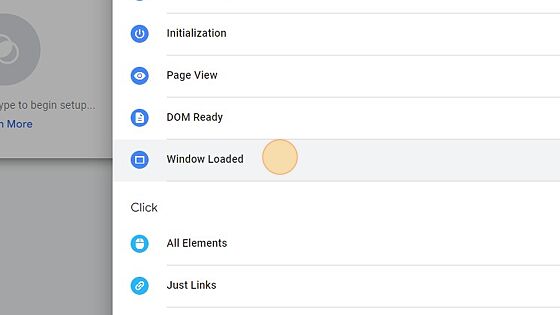
Select "Trigger Configuration" and choose "Window Loaded" as the trigger type.
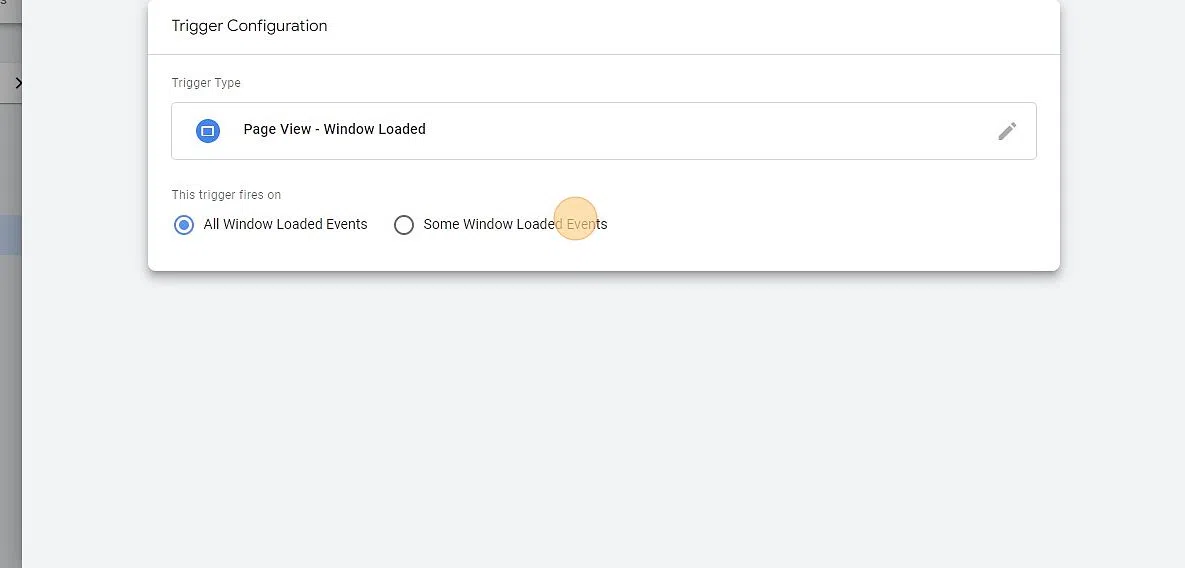
Select "Some Window Loaded Events" and choose the "Page Load Time" trigger.
Set the condition to "Greater Than" and enter "zero" as the value.
To Configure Sampling for Page Load Time Events;
Add another condition by selecting the drop-down menu. Choose "Choose Built-in Variable" and select "Random Number." Set the condition to "Ends With" and enter "3" as the value.
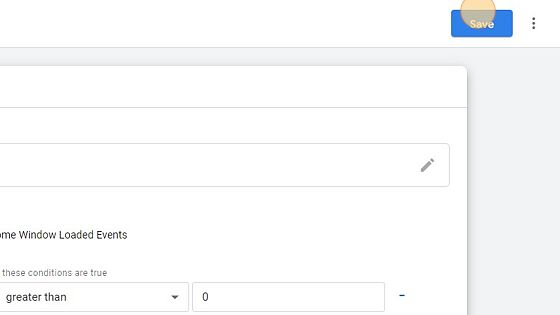
Click "Save."
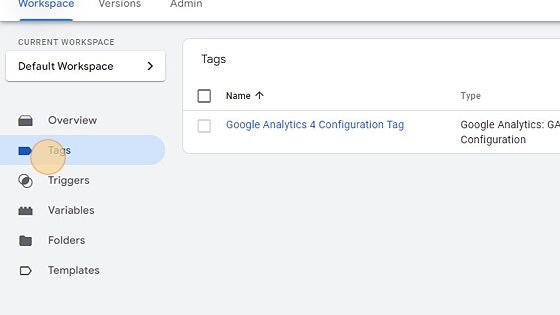
Go to "Tags" and create a new tag.
Name it "GA4 Page Load Time Tag." Then, select "Tag Configuration."
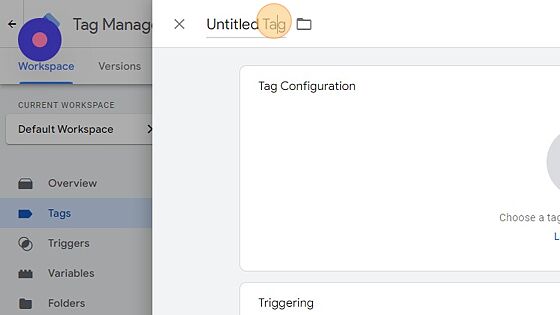
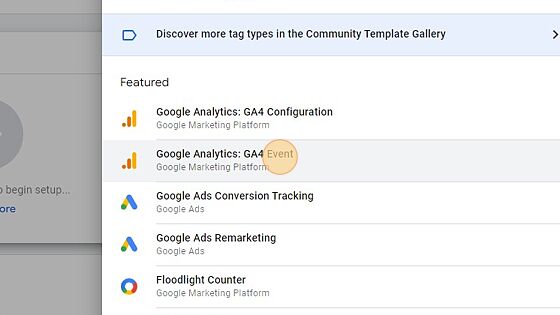
Click "Google Analytics: GA4 Event"
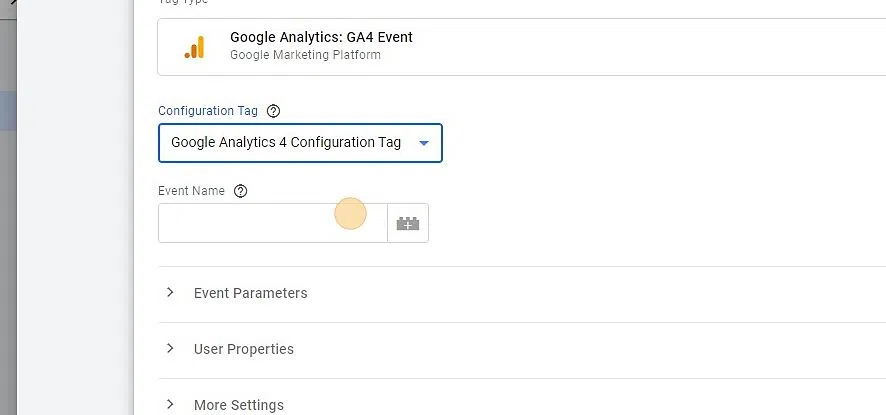
Click this dropdown. Choose the GA4 configuration tag that already exists in the container. Set the event name as "page_load_time" or as desired.
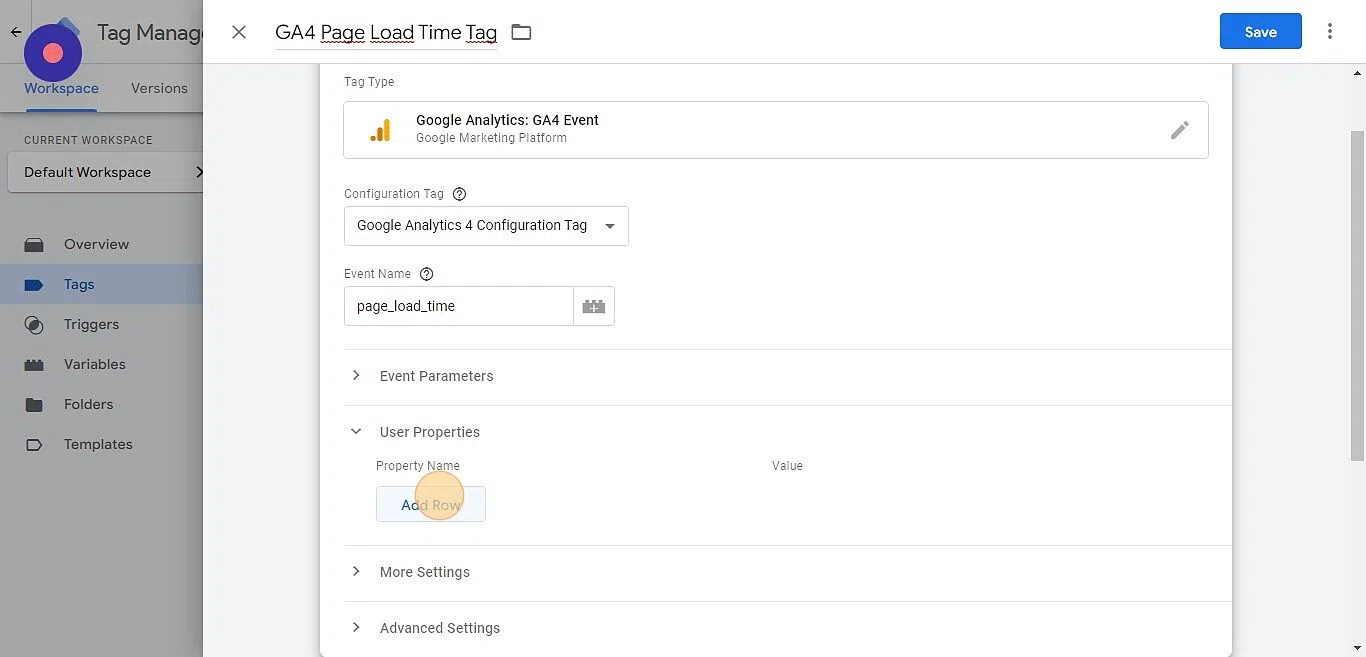
Configure the event parameter by adding a row and naming it "loading_time_sec."
Select the "Page Load Time" variable as the value.
Scroll down and click Triggering.
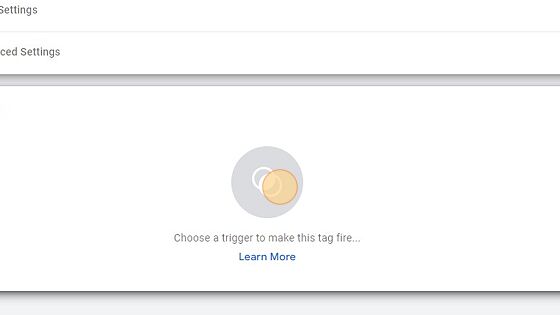
Configure triggering by selecting the trigger (Page Load Time>0) you created in Step 9.
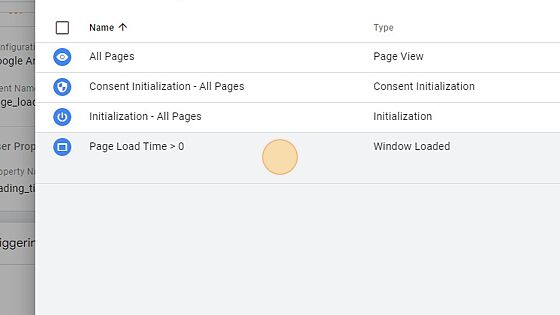
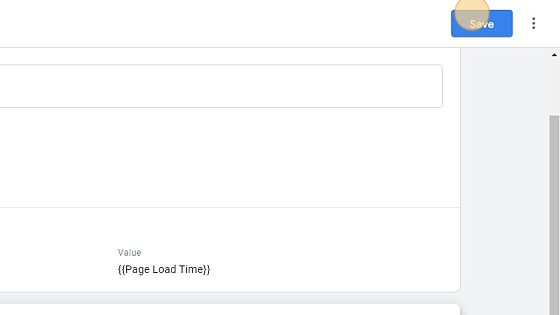
Click "Save."
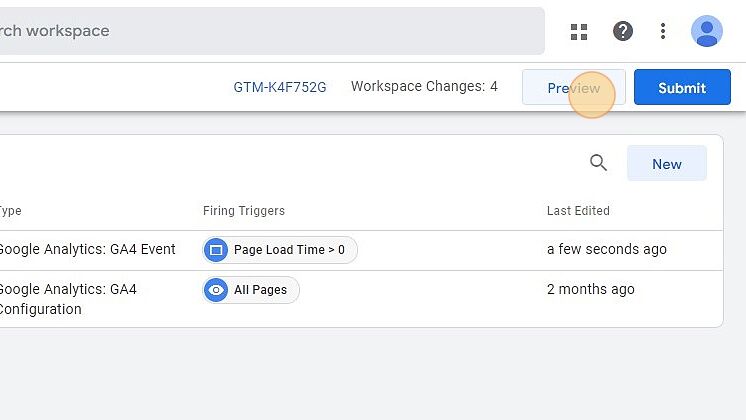
Go to "Overview". Click on the 'Preview' button and enter the URL of your website.
Connect to initiate the website loading and establish a connection with Tag Assistant.
Reloading the page multiple times. Switch to the Tag Assistant tab to verify that the page load time event has been fired successfully. Then, publish the container.
How to Register Custom Event Metrics in GA4
Now let's register our 'loading_time_sec' parameter in GA4. Here are the steps:
Navigate to analytics.google.com
In the left-hand menu, click on "Admin."
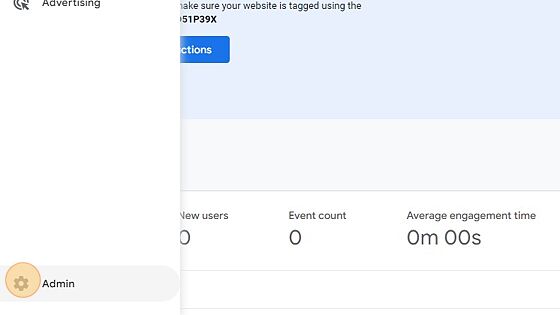
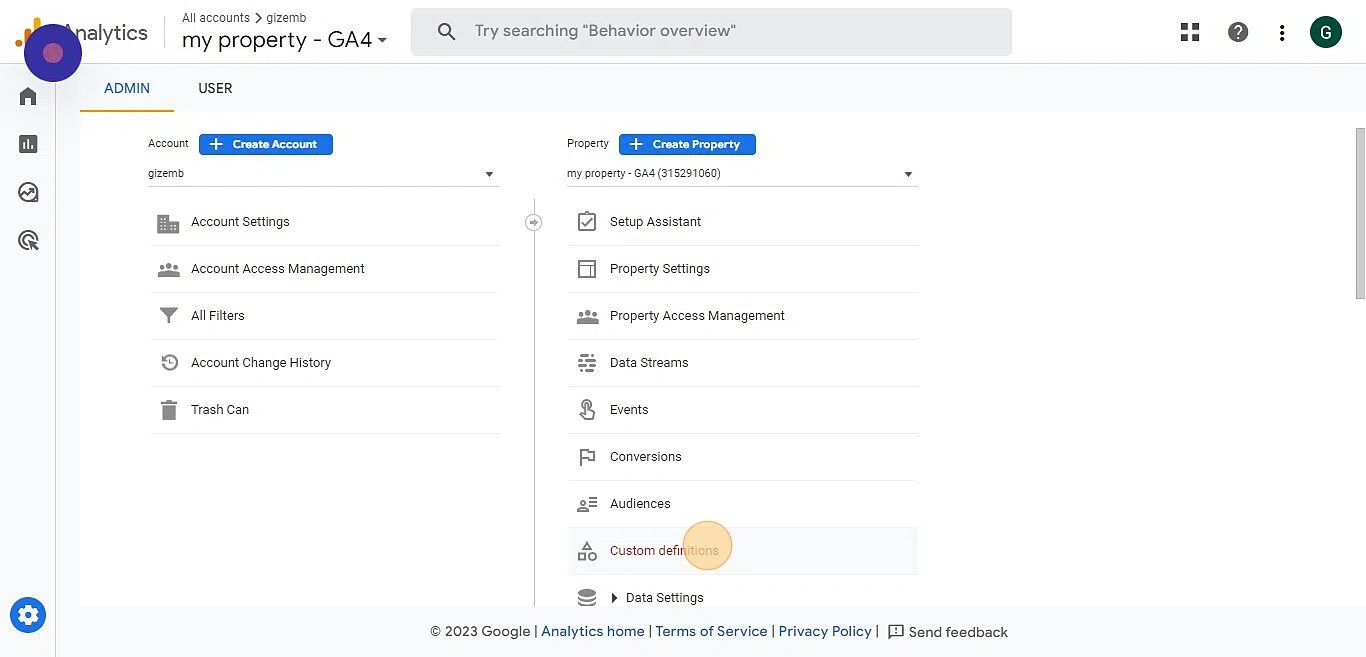
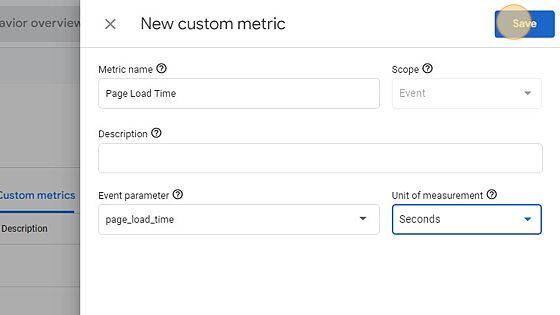
Select "Custom Definitions." Then, choose "Custom Metrics" to create a new custom metric.
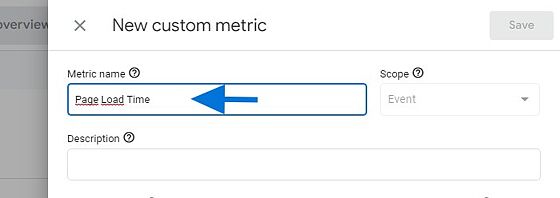
Provide a meaningful name for the custom metric, such as "Page Load Time."
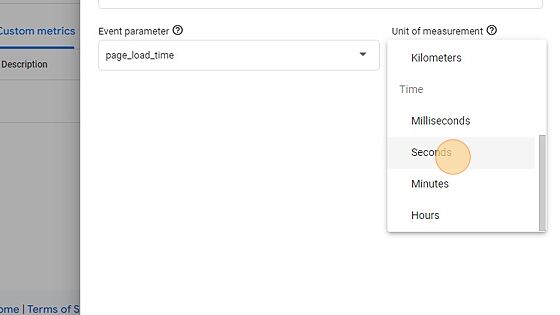
Enter a parameter name as "page_load_time," and select "Seconds."
Click "Save."
Conclusion: Track Page Load Time in GA4 Using GTM
By following the above steps, you will be able to use the metric in various reports, including exploration reports.
You will now be able to gain comprehensive insights into the loading speed of your web pages and accurately track and measure the page load time metric!
