As website owners, we aim to maximize user engagement and conversions. Tracking user clicks on buttons, menu items, or banners can provide valuable insights. But do we really know which buttons are generated the most clicks and which ones are being overlooked?
In this article, we will guide you through how to track clicks in Google Analytics 4 and make the process easier for you.
In order to track buttons in GA4, you need to make sure that:
Here are the steps on how to track the exact button clicks:
Navigate to https://tagmanager.google.com/
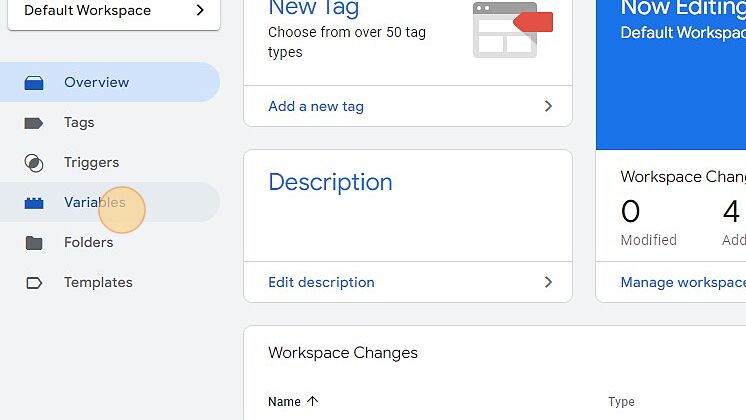
Click on the "Variables" section located in the left-hand menu.
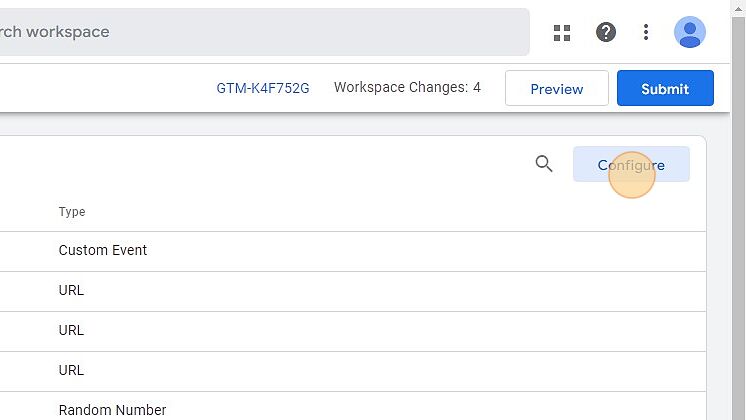
Click on the "Configure" option on the right side.
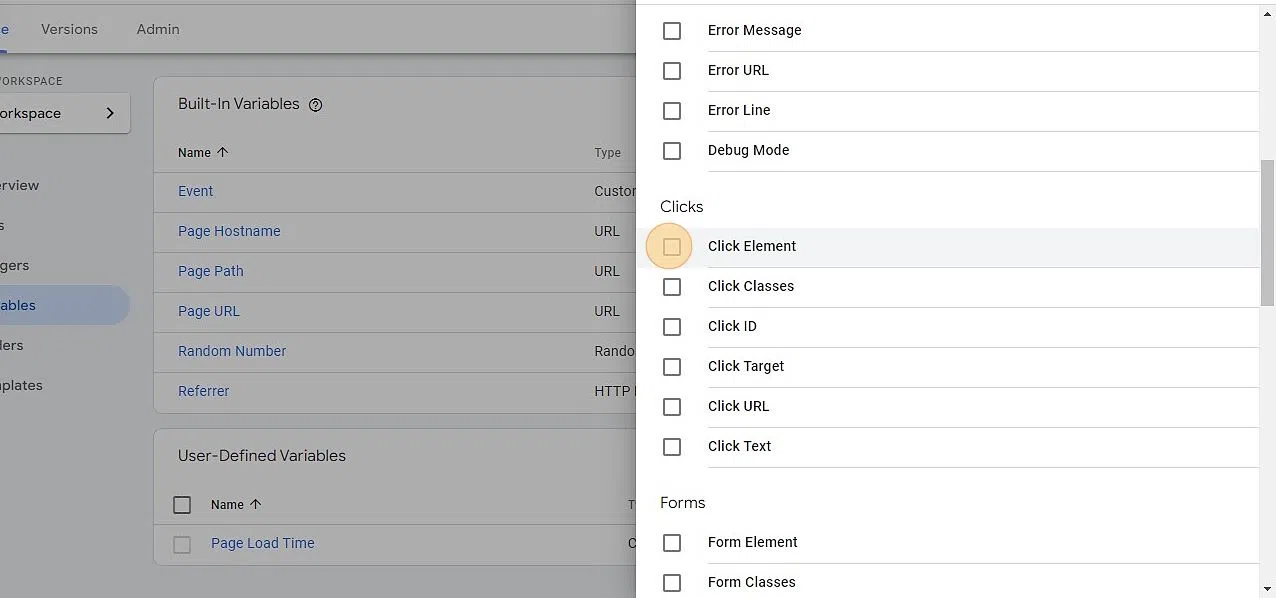
Find and enable all click variables individually, including Click ID, Click URL, and others.
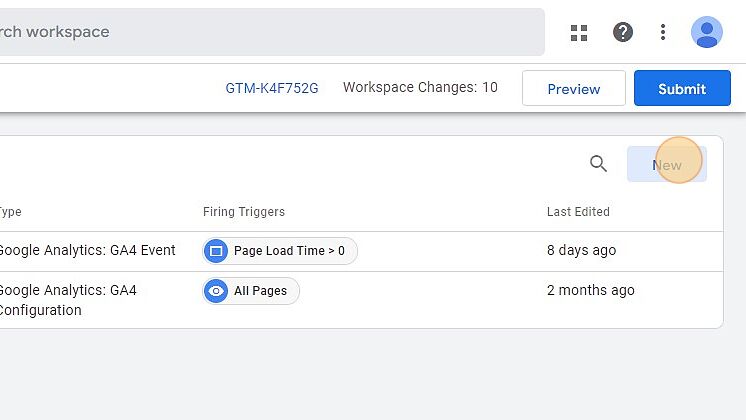
Go to the Tags section and click on the "New" button to create a new tag.
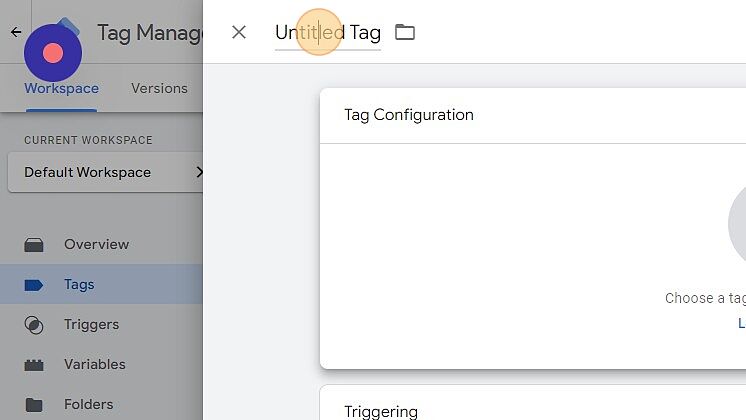
Double-click here and provide a name for the tag, such as "Button Click."
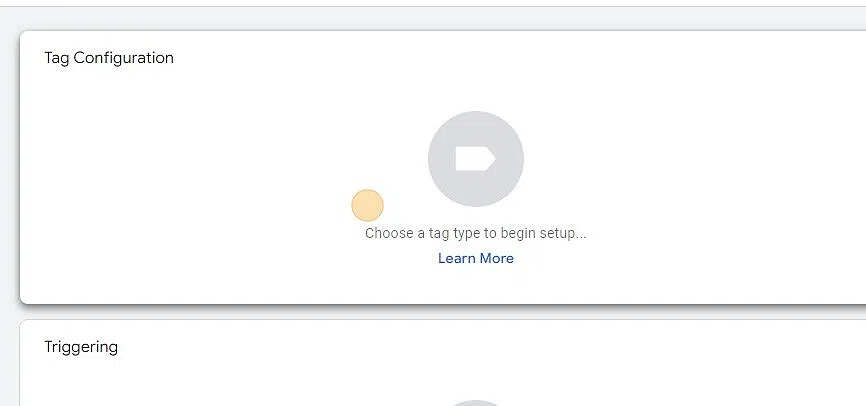
Click on the option "Google Analytics: GA4 Event" to choose it as the event type for the tag.
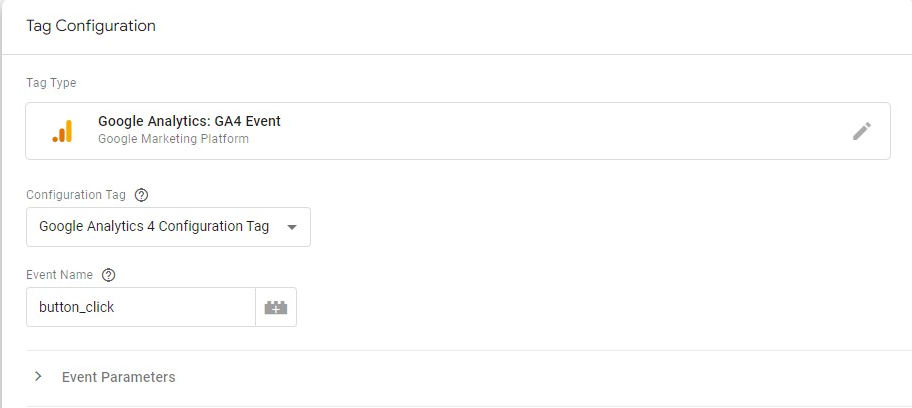
You have two options to choose: either select a configuration tag or choose "None - Manually Set ID" and enter your measurement ID. After making your selection, click on the text field and enter "button_click" as the event name.
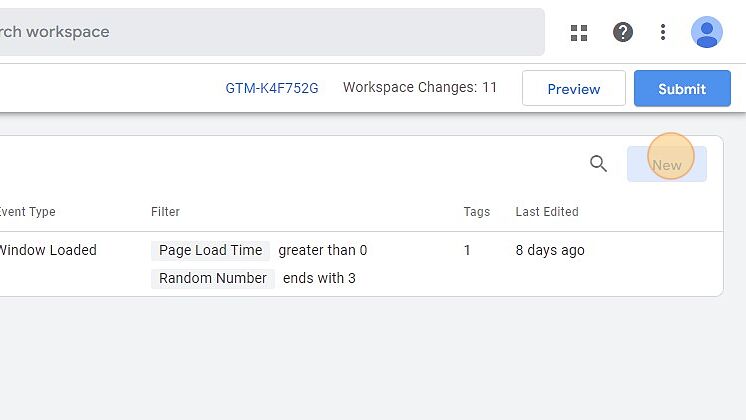
Go to the Triggers section and click on the "New" button to create a new trigger.
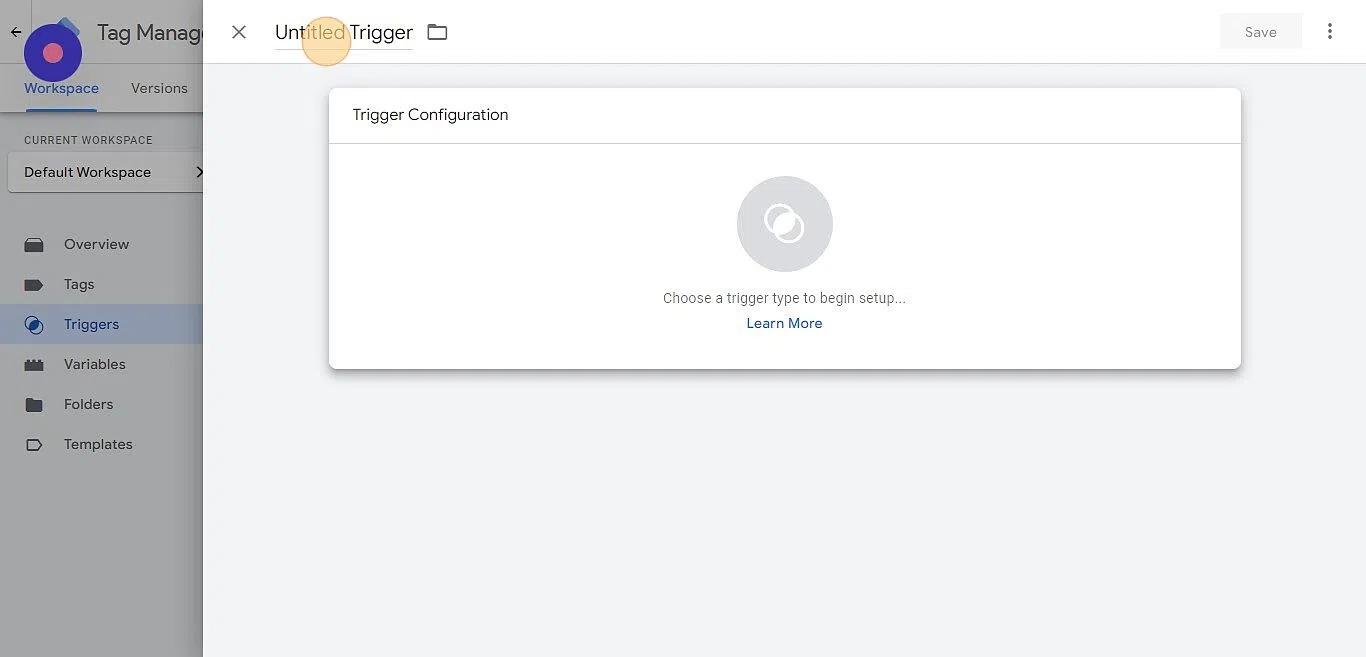
Double-click on the "Untitled Trigger" field to provide a name for the trigger. Then, click on the trigger configuration and choose "All Elements." Finally, save the trigger configuration by clicking on the "Save" button.
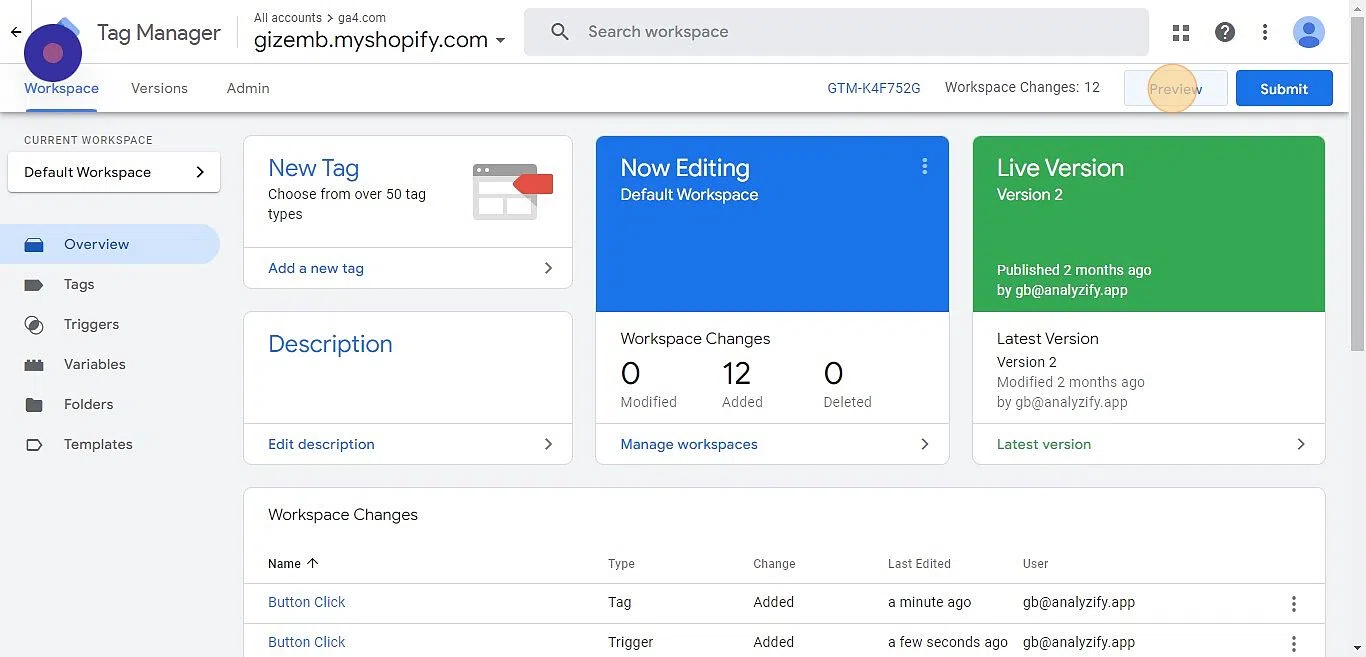
In the top right corner of the main menu, click on "Preview." Enter the URL of your website, making sure to include the specific URL where your buttons are located. Then, click on "Connect." A new tab will open, and you should see a message confirming the connection with Tag Assistant, displaying "Tag Assistant Connected."
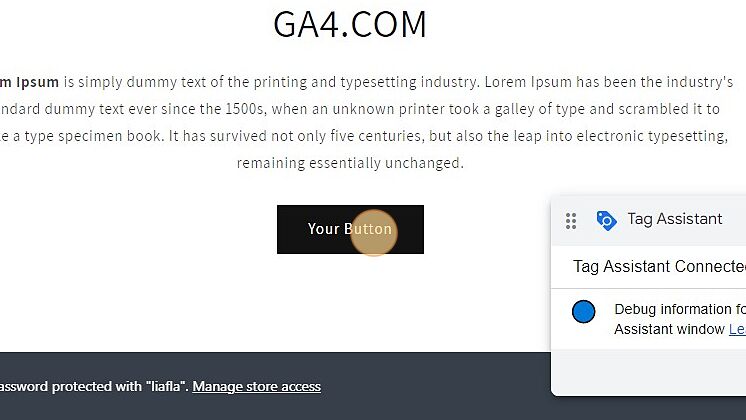
Locate and click on the button that you wish to track.
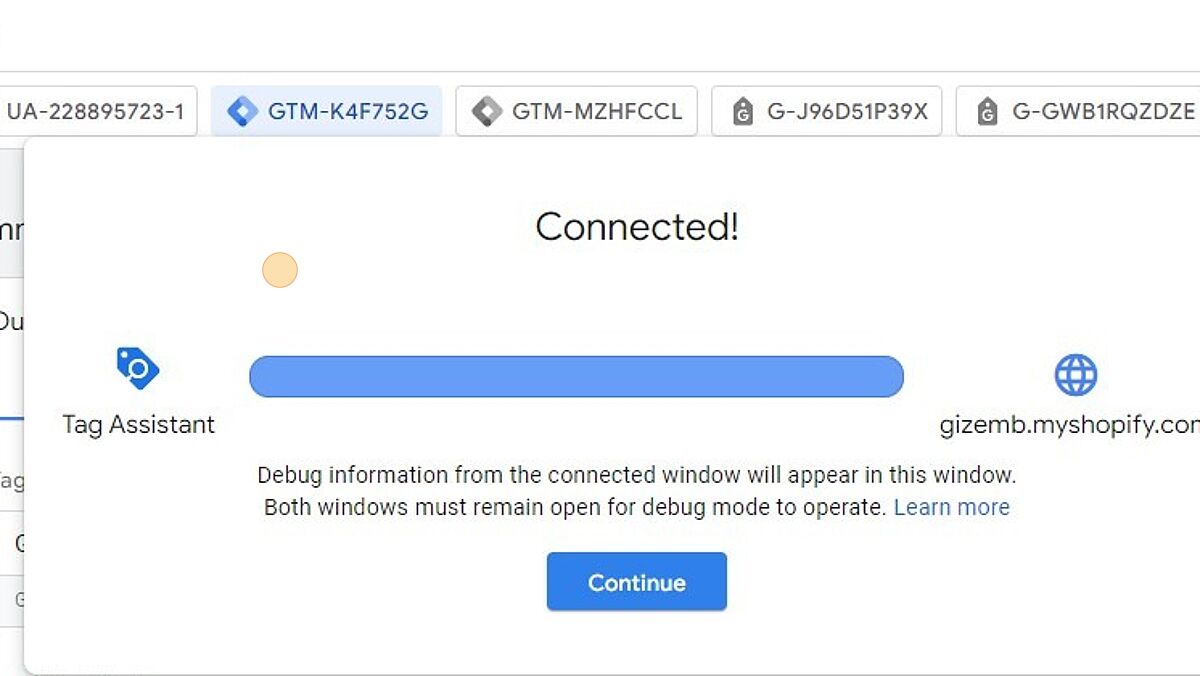
Return to Google Tag Manager and click on the "Continue" button.
Confirm if the Button Click Event has been fired successfully by checking the event firing status.
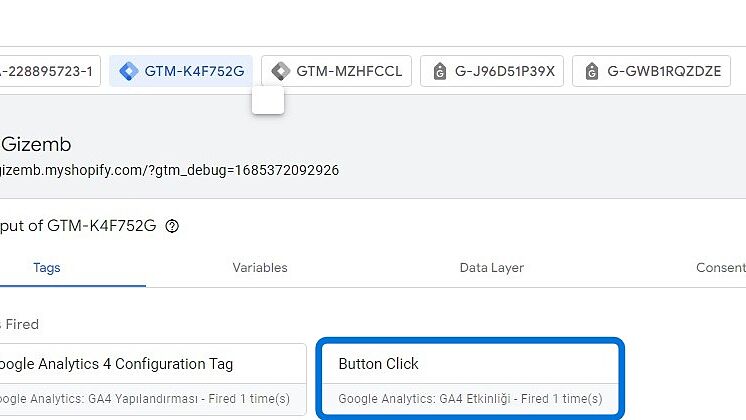
Now it's time to configure click elements with the exact variables of the button
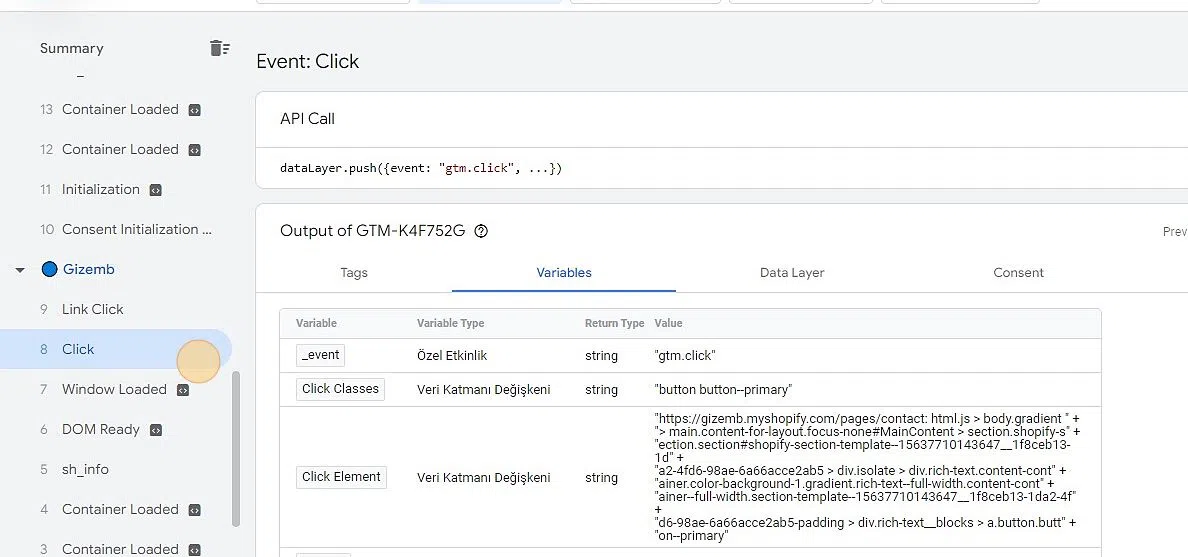
In the left-handed side menu of the preview screen, click on the "Click" section. Then, navigate to the Variables tab to locate two essential parameters: Click Text, which represents the exact text displayed on the clicked button, and Click URL, which refers to the precise link that the button leads to after being clicked. We will use these parameters in step 19.
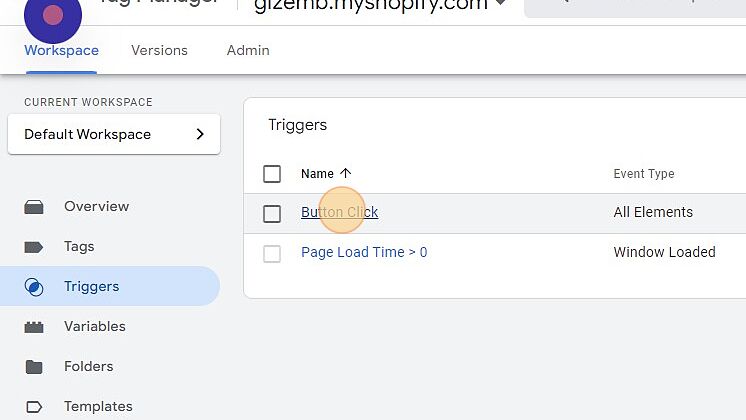
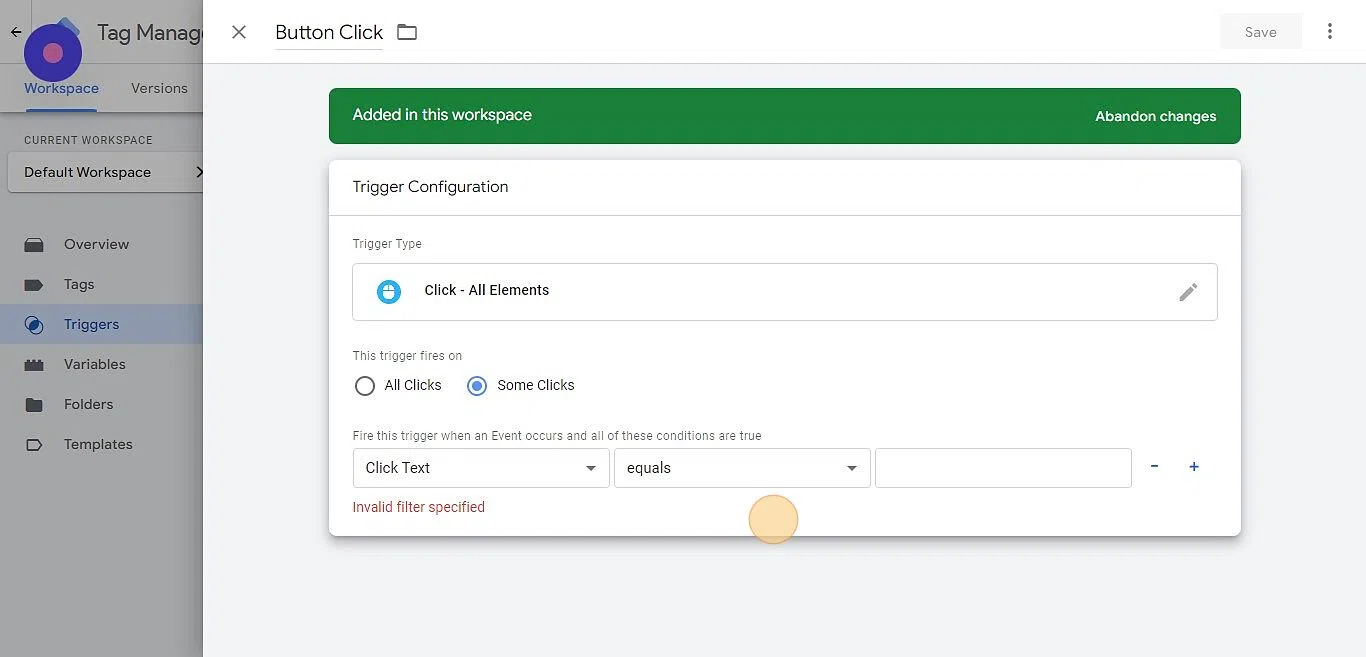
In the left-hand menu, click on "Triggers." From the list of triggers, select the trigger that we've created and named "Button Click."
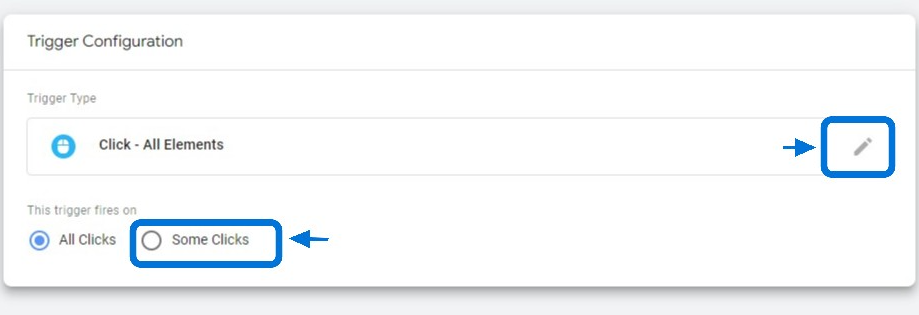
In the Trigger Configuration section, choose "Some Clicks."
Set up the click elements using the exact variables associated with the button.
For the first click element:
Select - Click Text: Equals - Copy and paste the exact Click Text Variable of your button. (Step 16)
Press the "+" button to add a second click element and configure it as follows:
Select - Click URL: Equals - Copy and paste the exact Click URL Variable of your button. (Step 16) This ensures that the Click URL matches the exact variable linked to the button.
By configuring the click elements with these specific variables, the trigger will only activate when the click event matches both the Click Text and Click URL variables of the button.
Use the Tag Assistant as mentioned above to check if the desired button click event is being captured and tracked.
Once you have confirmed, you can proceed to publish the container in Google Tag Manager.
Now you know how to easily set up button click tracking in Google Analytics 4 and unlock the power of user engagement analytics!
Understanding user behavior is key to success in today's digital world, and you are one step closer to achieving it.
Read More:


